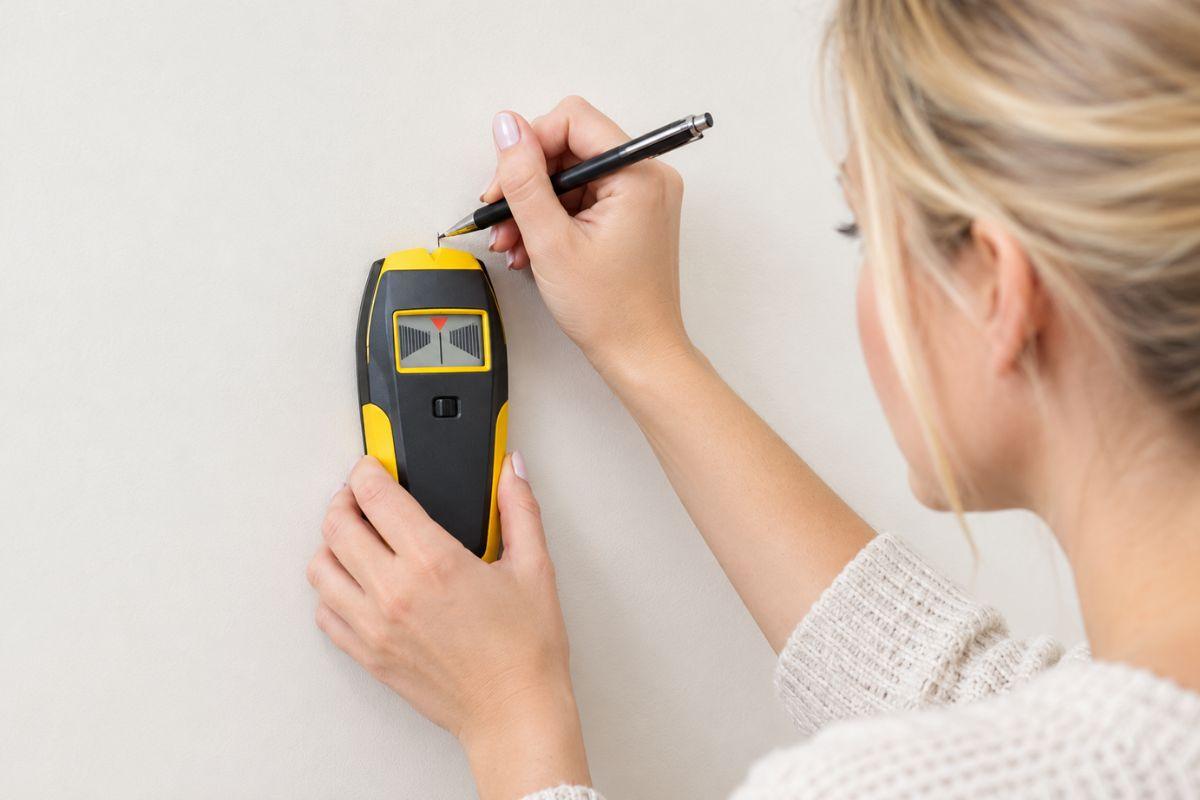
Here’s the short version. Find one stud with a scanner, a magnet or a knock test. Then measure along the wall in 400mm or 600mm steps. Check each spot for screws or a solid thud. Good stud locators help, but you can get by without one.
- Timber studs in UK homes usually sit 400mm or 600mm apart, centre to centre.
- Start at a corner, door frame or window edge. Studs bunch up there.
- Use two methods together, such as a scanner plus a magnet or knock test.
- Mark both edges of the stud. Then fix into the middle of it.
- Solid brick or block walls have no studs, so you’ll need wall plugs instead.
First, Check You Actually Have Studs
Not every wall hides a timber frame. Plenty of older homes have solid brick or blockwork with plaster straight on top. Those walls need masonry plugs and the right drill bit. No stud involved.
A stud wall is a different beast. It’s a frame of upright timbers, or sometimes metal sections, covered in plasterboard. You’ll often see one as a partition between rooms. It can also be a lining built in front of an outer wall.
Try a quick test. Knock along the wall with your knuckles. A hollow sound points to a stud wall. A dull, heavy thud points to solid masonry. It’s not perfect, but it’s a decent first guess.
Method 1: The Knock Test
This one costs nothing. Rap the wall lightly and move sideways in small steps.
Between studs, you’ll hear a hollow, drum-like note. Over a stud, the sound goes dull and tight. The change is subtle, so switch the telly off and listen. Let’s be real, it takes a bit of practice.
Think you’ve found one? Tap a few centimetres either side. Notice where the sound shifts. Those spots are the edges. A stud face is only about 38mm wide, so being a couple of centimetres out can mean a miss.
ALSO READ: How To Quote For A Cladding Job In A Small Bathroom – A Smart Guide
Method 2: A Small Magnet
Plasterboard is held on with screws or nails. A magnet can sniff those out.
A strong neodymium magnet works well. Slide it slowly across the wall. When it clicks onto the surface, you’ve hit a fixing. Screws usually run in a neat vertical line. Follow them up and down to confirm the stud runs straight.
Skirting boards can help too. Nails driven through them into the stud often leave small dimples or blobs of filler. Oddly enough, those are easy to spot once you know to look.
Method 3: Electronic Stud Locators
For most people, electronic stud locators are the quickest route. They sense changes in density behind the surface. When they pass over something solid, they beep or light up.
Here’s how to get the best from one.
- Calibrate on a blank patch. Hold it flat against the wall, away from any obvious stud, then press the button.
- Move slowly and steadily. Rushing gives false readings.
- Mark the first edge where it signals.
- Scan back from the other side. Mark that edge too.
- Find the middle. That’s where you’ll drive your screw.
Some models also warn about live cables. That’s handy, but it’s no guarantee.
Thick plaster, foil-backed plasterboard, textured finishes and damp patches can all upset the readings. If the numbers jump about, try another spot. Or go back to the magnet. Sometimes the old tricks win.
Method 4: Measure From Known Points
Tradespeople lean on this trick the most. Studs follow a pattern. Find one, and you can predict the rest.
Start from a corner. The first stud usually sits tight against the adjoining wall. Measure 400mm to the centre of the next one. Keep stepping at the same interval. Practical guides to building partitions describe the same approach.
Electrical fittings can help as well. Sockets and switches are often fixed to the side of a stud. Switch the power off at the consumer unit first. Then take off the faceplate, and you might spot the timber. Door frames and window openings also have extra studs around them.
What Spacing Should You Expect?
Most UK stud walls follow one of two layouts. Guides differ a little on which board goes with which spacing. Treat this as a typical picture, not a rule.
| Detail | Typical UK figure | Source |
| Stud centres | 400mm or 600mm (around 16in or 24in) | Harlow Bros |
| Common timber size | 38mm x 63mm or 38mm x 89mm CLS | Harlow Bros |
| Plasterboard sheet size | 1200mm x 2400mm | Ultimate Handyman |
| Board and spacing pairing | 9.5mm board at 400mm; 12.5mm or 15mm board at 600mm | Materials Market |
| Default if nothing is specified | 400mm centres | Martin Reid Advanced Joinery |
Source: Compiled from UK timber trade guidelines and merchant specifications (Harlow Bros, Ultimate Handyman, Materials Market, Martin Reid Advanced Joinery).
The 1200mm board width is the key. Sheets are meant to join over a stud. Both 400mm and 600mm divide neatly into 1200mm. That’s why those two numbers keep turning up. Near the end of a wall, the last gap is often narrower. The builder simply had to fit whatever was left.
A little maths shows what this means in practice. Here’s what each spacing gives you on a typical 3 metre wall.
| Stud centres | Gaps across one 1200mm board | Approx. studs on a 3000mm wall |
| 400mm | 3 | 9 |
| 600mm | 2 | 6 |
Source: Data calculated in accordance with UK Building Regulations (Approved Document A) and standard NHBC / TRADA Timber Frame Construction Guidelines for 1200mm drywall sheet installation.
So a 400mm wall has about a third more timber in it. That means more places to fix into. It also means a better chance your scanner hits something.
Mark It, Then Double-Check
Mark both edges of the stud with a pencil. Don’t rely on the centre alone.
Then confirm it. Push a thin pin through the plasterboard at the centre mark. Firm resistance after a few millimetres means timber. If the pin slides through, you’ve found a gap. Back to square one.
Check one more stud, 400mm or 600mm along. If the spacing matches, you’ve got the pattern. If not, stop and rethink before you drill anything.
ALSO READ: Modern Living Starts in the Kitchen: Smart Design Choices Secrets
Watch Out For Cables And Pipes
Studs aren’t the only thing hiding in a wall. Cables and pipes often run through or beside them.
Take care when drilling above or below sockets and switches. Cables commonly run straight up and down from them. Stay clear of the area close to ceilings and corners too. Not sure? Use a detector that picks up live wires. Or ask a qualified electrician. A quick call beats a nasty surprise.
When Things Don’t Add Up
- Metal studs. Magnets won’t help much, but electronic stud locators usually do.
- Old lath and plaster. There are timbers behind it, but the spacing is often uneven.
- Double-layer board. Readings can be weaker, so scan more slowly.
- Dry-lined external walls. You may find battens or dabs of adhesive instead of studs.
For anything heavy, like a TV or a kitchen cabinet, confirm the fixing point twice. Then pick the right fixing for the load.
FAQs
Q1. How Far Apart Are Studs In A Wall?
In UK homes, timber studs are usually 400mm or 600mm apart. That’s measured centre to centre.
Q2. Can I Find A Stud Without A Stud Finder?
Yes. Try a knock test or use a magnet to find screws. You can also measure from a corner and step along at 400mm or 600mm.
Q3. Where Is The First Stud Usually?
It’s typically tight against the corner or adjoining wall. The next one is 400mm or 600mm further along.
Q4. Why Does My Stud Finder Give Inconsistent Readings?
Thick plaster, foil-backed board, damp or poor calibration can all throw it off. Recalibrate on a blank section. Then scan slowly.
Q5. Do Brick Walls Have Studs?
No. Solid brick and block walls have no timber frame. Use masonry plugs and suitable screws instead.
Sources & References
- Harlow Bros. What size timber should I use for studwork?
- Materials Market. How to build a stud wall.
- Ultimate Handyman. How to build a stud partition wall.
- Martin Reid Advanced Joinery. Partitions.
Disclaimer: The information provided in this article is for educational and informational purposes only and is not intended for promotional purposes. Construction methods, wall materials, and safety requirements may vary by property, so readers should independently verify all facts and seek professional advice before undertaking any drilling or home improvement work.