Before we get into the grass itself, it might be appropriate to discuss lawns and lawn edging ideas more generally. It is not merely a matter of how tall or green the grass may be. The key to all of its beauty is in the edging. Edging establishes crisp lines between your grass and any flower beds or sidewalk; it acts as a frame for the painting. This one simple step makes everything look polished and intentional.
Creative edging will make your yard stand out, whether you are new at gardening or wanting to improve upon curb appeal. However, there are all sorts of materials available, and today we will explore the most realistic ways in which to furnish your borders. Here, we will also break down how to edge your lawn so you can get professional results at home.
What Is The Importance Of Edging To You?
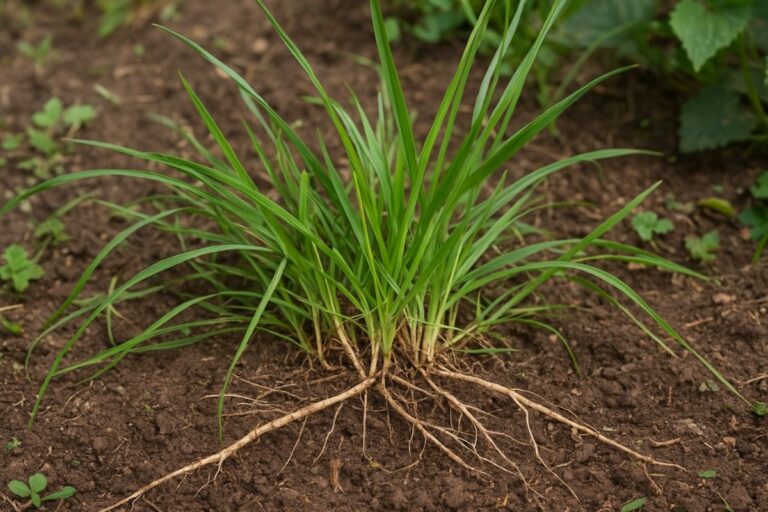
Grass naturally spreads. It will take over your walkway or outright invade your flower patches since there is no barrier. It turns a yard into an unkempt focal point. Much like a stop sign for your lawn, edging is just that.
A hard border helps contain grass and gives your mower a defined line to follow. It also prevents mulch, wood chips or soil from gliding into the grass during heavy rains. Aside from keeping your yard clean, it also saves you trouble with a tough cleanup at the end.
Lawn Edging Ideas That Are Creative As Well!
Now, not all people have massive funds; however, you don’t want one to have an exquisite yard. These are some of the most popular no-fuss edging ideas:
Traditional Brick Edging
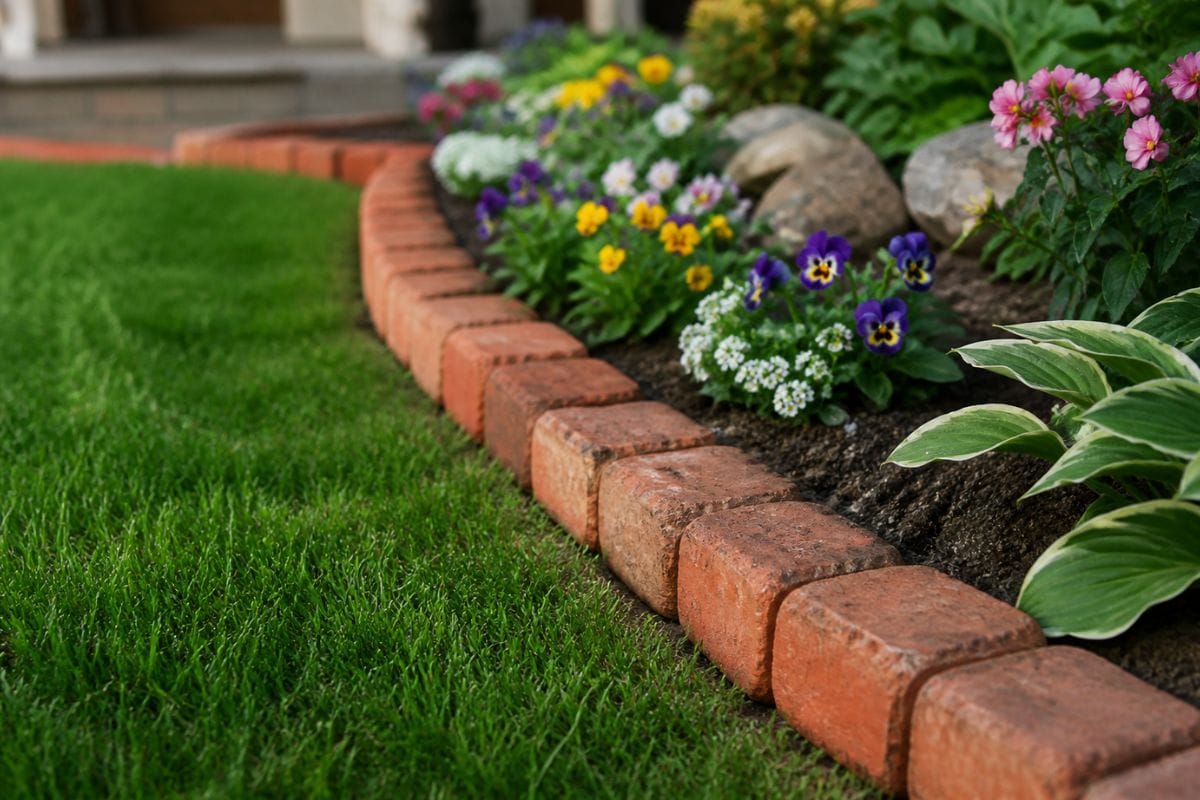
- Bricks are a very heavy building material, and they won’t easily move around once placed.
- Pros & Cons: Extremely durable; can be unlevelled if the ground is not level.
- Cost: Moderate.
- Maintenance: Low. They can be laid flat so that the mower wheel travels directly over them.
- Where To Plant: Formal gardens or straight walkways.
Natural Stone Edging
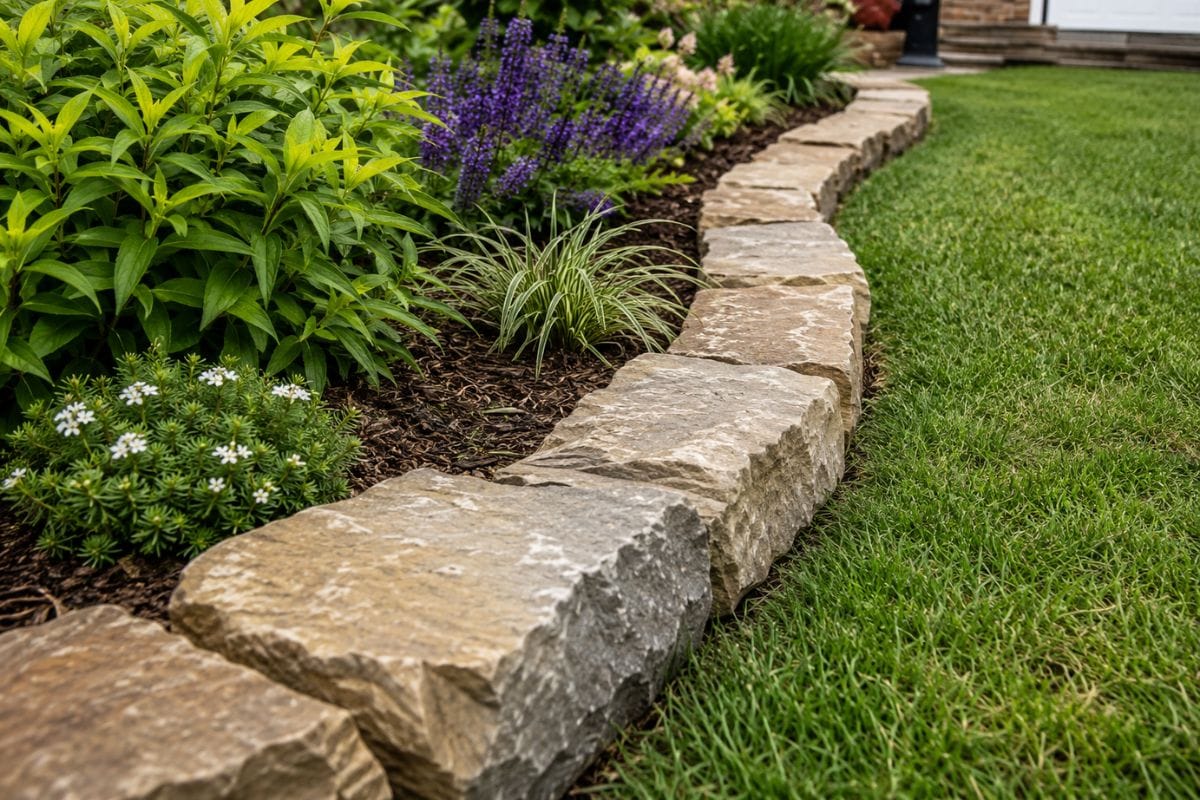
- With smooth river rocks or large fieldstones — you can get a natural farm-impression look.
- Pros & Cons: Extremely durable and naturalistic, heavy to install.
- Price: Various (expensive to purchase, but free if you hunt them down on your property.)
- Maintenance: High. Weeds are usually found in the gaps between stones.
- Ideal for: cottage-style gardens and wooded lots.
Wood Border Edging
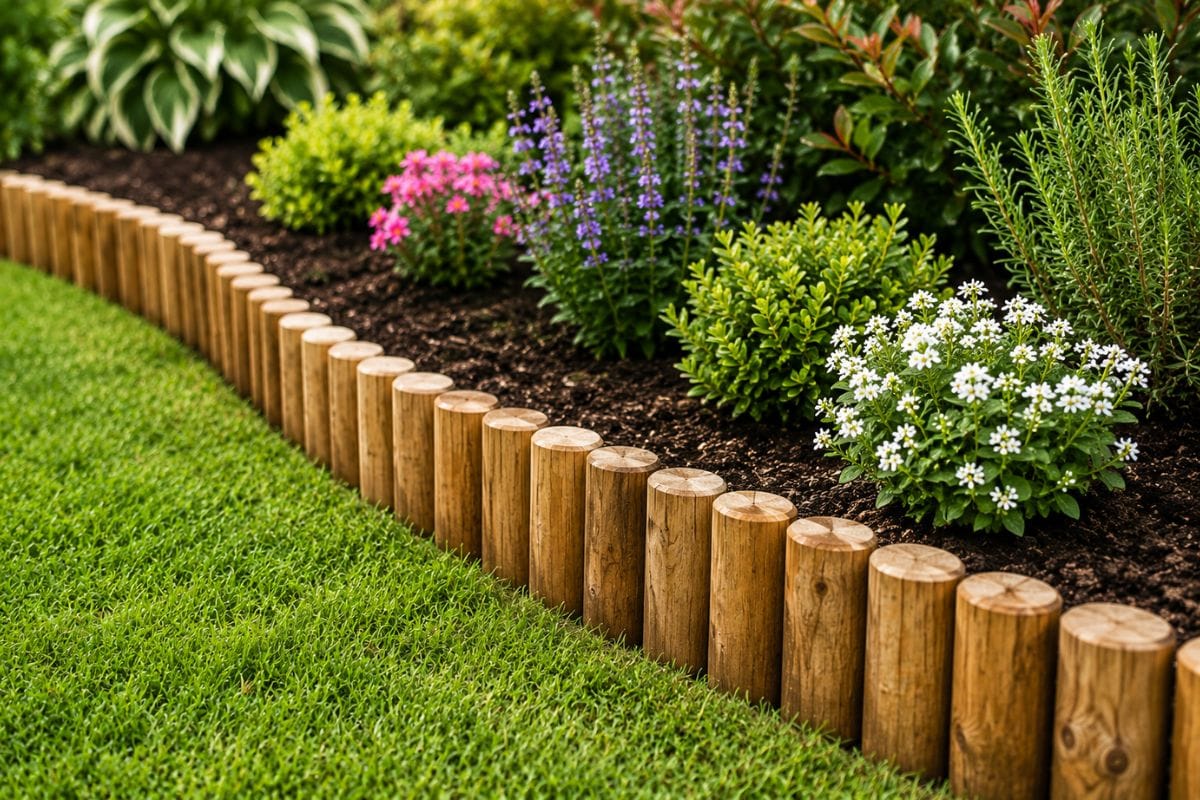
- Natural timber or cedar stakes provide a warm and traditional look to the garden.
- Pros & Cons: Fairly straightforward to install; but, eventually, wood will rot no matter how many times it is treated.
- Cost: Low to Moderate.
- Maintenance: Medium. Needs replacement every 5–7 years.
- Best Used For: Raised beds & rustic landscapes.
Metal Or Plastic Strips Edging
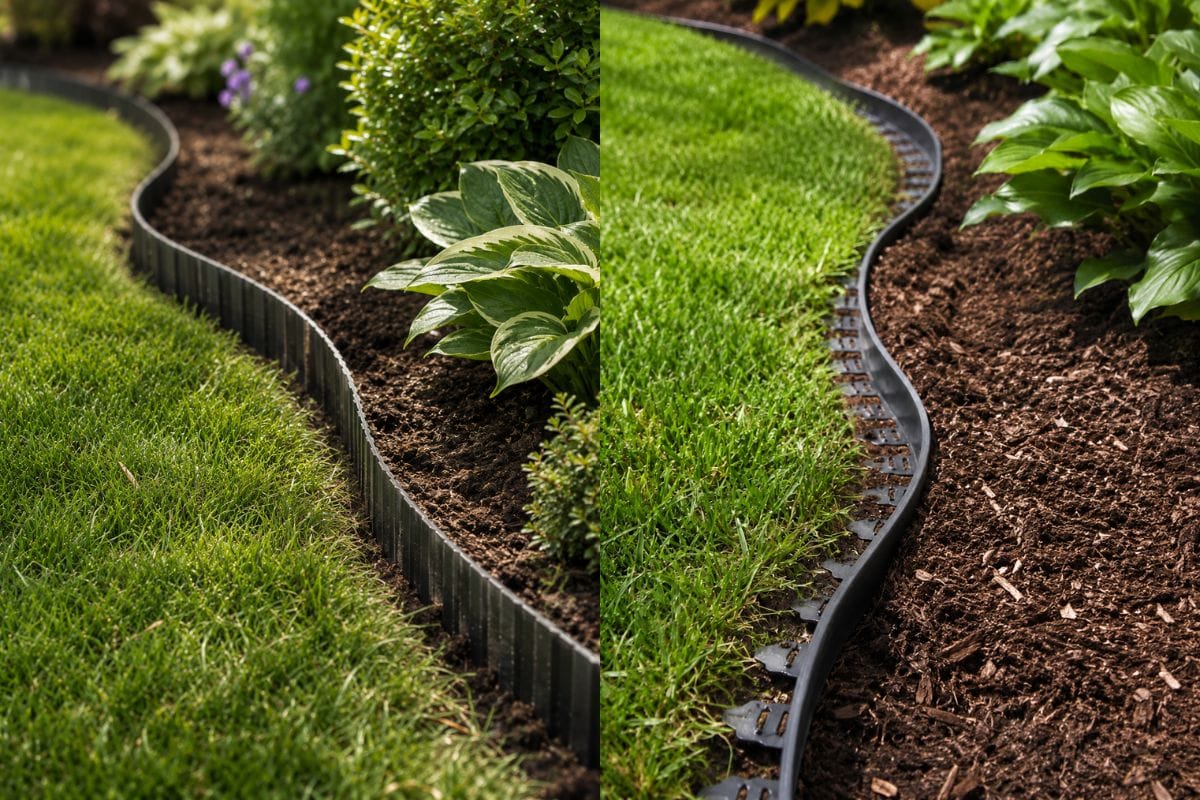
- These long, narrow strips are primarily installed underground for a low-profile design.
- Pros & Cons: Gives a clean, contemporary look; metal can be sharp if not properly installed.
- Price: Very High (Metal), Moderate to Low (Plastic).
- Maintenance: Very Low.
- Best For: Any contemporary gardens or places where you want the border to disappear.
Recycled Materials Edging
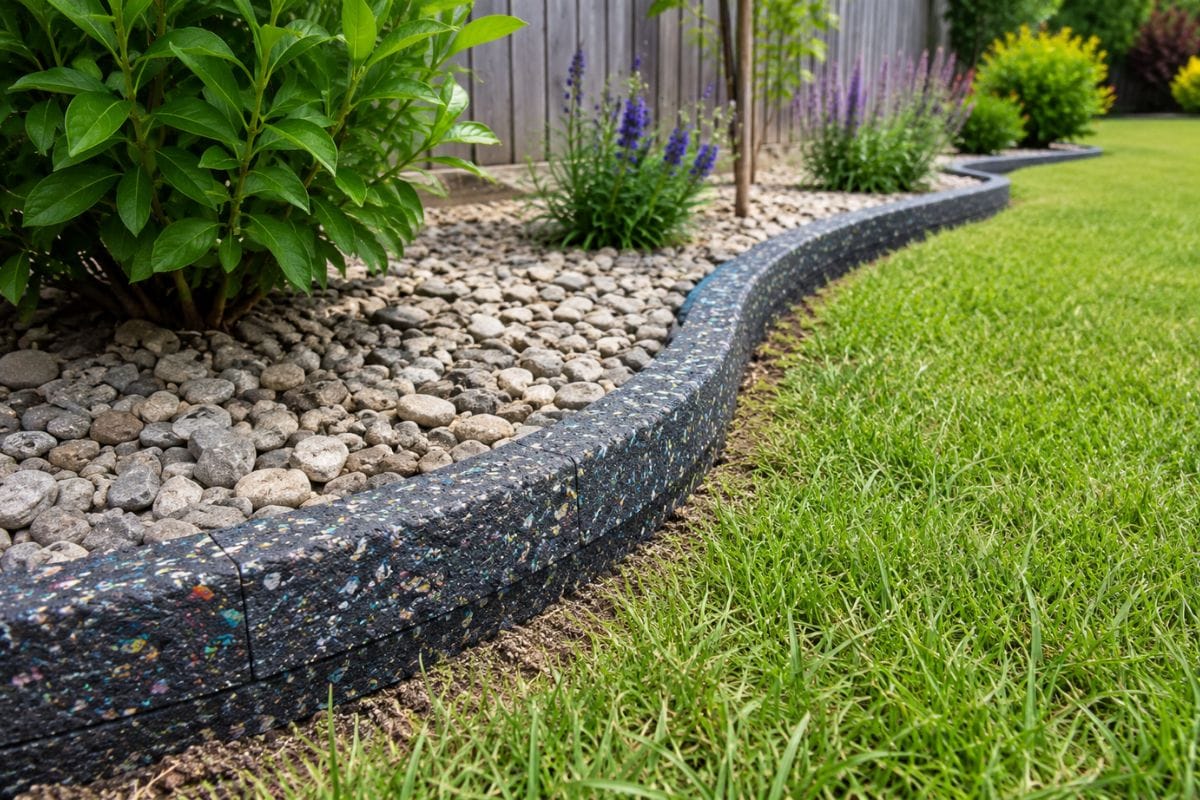
- Use some upcycled glass bottles (buried neck-down), or use vintage plates.
- Pros & Cons: Creative and environmentally friendly; breakable when struck by a mower or rock.
- Cost: Very Low.
- Maintenance: Medium.
- Ideal Utilisation: Tiny craft garden plots.
How To Edge A Lawn — 8 Lawn Edging Process Steps
Now that you have perfected your style, it is time to get started. Edging takes some muscle, but the end result is well worth it.
Step 1: Plan your line. Never dig with an idea in mind. Map out a curved edge with a long garden hose or string line for straight edges. You probably find that a bright-coloured hose is easiest to spot when standing back, looking at the outline.
Step 2: Gather equipment. Half-round edger or flat-bladed shovel. Always wear thick boots. You use the weight of your body to push it into dirt, and strong soles guard against injury.
Step 3: Make the first cut along the grass edge. Drive your implement vertically into the soil next to your guide. Target a depth of around 3 inches. With the shovel head flat against the sand, rock it slowly and gently in a back/forth motion to create an opening.
Step 4: Dirt removal — after cutting the line, use a hand trowel to pull up extra sod and dirt. This rubbish collected in a wheelbarrow. Usually, save this additional dirt to create low spots elsewhere in the yard.
Step 5: Border your last line — if you are utilising blocks or bricks, put them into the trench presently. Ensure they are level.
Step 6: Backfill. Repair any short blanks behind your edging material, making use of soil and sand. It balances the border and doesn’t let it lean.
Step 7: Tamping down. Tamp the dry soil around your new edge to pack it down. It prevents the border from being moved in the first rain.
Step 8: Last cleanup. Sweep any loose dirt off the sidewalk and lightly water it in to settle the soil.
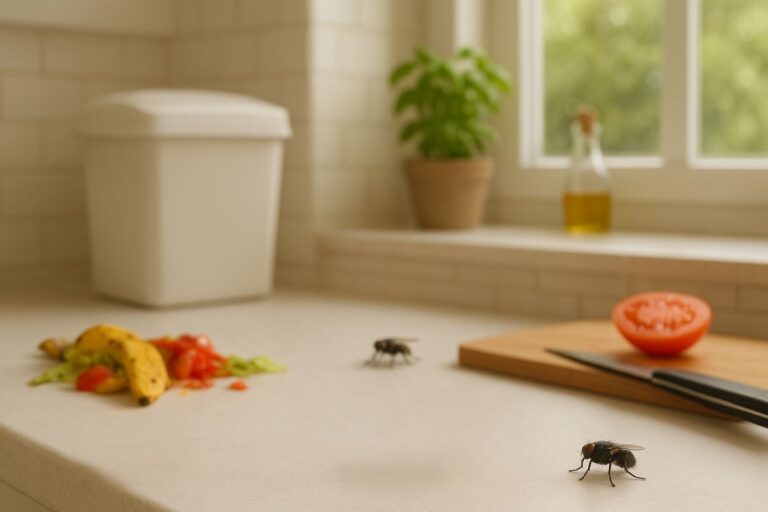
ALSO READ: How Do I Keep Flies Out of the House | Simple Fixes That Actually Works
Professional Tips From The Trenches
- Specialist Material Comparison: Metal strips are the quickest to install for larger yards. They provide the best “mower edge” but do need to be placed on a level bed of sand. Wood is suitable for small plots but can trap dampness and attract pests in humid places.
- Soil and Drainage Reality: In sandy soil, edges can easily collapse, so use solid barriers such as stone. If your yard is prone to getting waterlogged, avoid deep plastic edging because it will act as a dam and cause puddles.
- A Pro Tip: Do not edge in a summer dry spell. The ground becomes too hard. Wait for a slightly moist morning for easier digging.
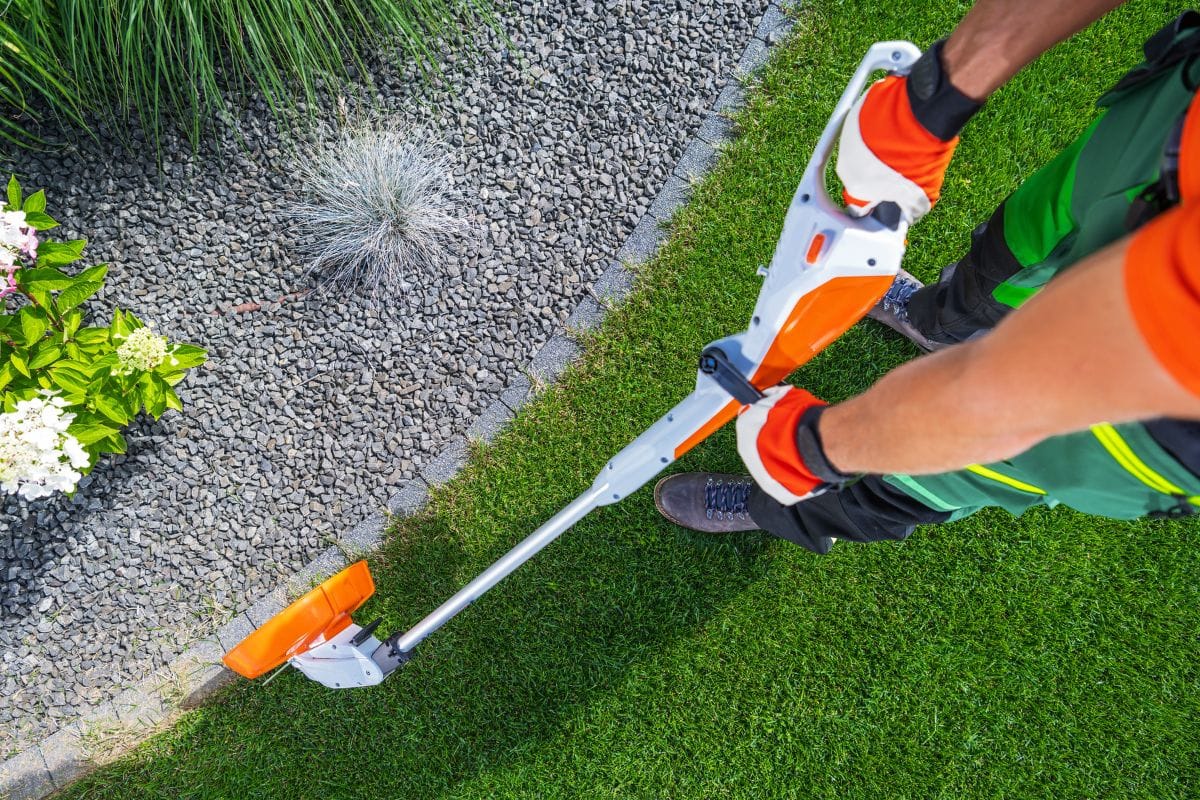
Keeping The Yard Looking Good
The grass grows fast during summertime. Every couple of weeks, edge away some blades that hang over the rim with a string trimmer or garden shears. It is much simpler to maintain the line than re-digging the entire trench later.
Frequently Asked Questions
Q1. How do I edge on a budget?
Trench edging is the most inexpensive option. Use a shovel to make a simple V-shaped trough between the grass and the bed.
Q2. Whether to edge when soil is wet or dry?
Wait a day following light rain. Avoid extremely dry or overly wet soil.
Q3. Do I need a power edger?
No. A manual edger is quieter and gives better control.
Q4. How deep should the edge be?
Around three inches is ideal to block roots without hitting underground utilities.
Conclusion
It is good to get out there, enjoy the outdoors and improve your yard. Do not worry if your first attempt is not perfect. With practice, you will create a clean and attractive lawn edge that enhances your home’s overall appearance.
Sources & References
- The Spruce. (2026). Lawn edging ideas – creative ways to define your garden.
- Better Homes & Gardens. (2025). Garden edging ideas – design projects and inspiration.
- Gardeners’ World. (2025). How to edge a lawn – step‑by‑step guide.
Disclaimer: This content is provided for informational purposes only and is not intended as professional advice or promotion. Readers should use their own judgment and consult experts where necessary. The author and publisher are not responsible for any outcomes resulting from the use of this information.